
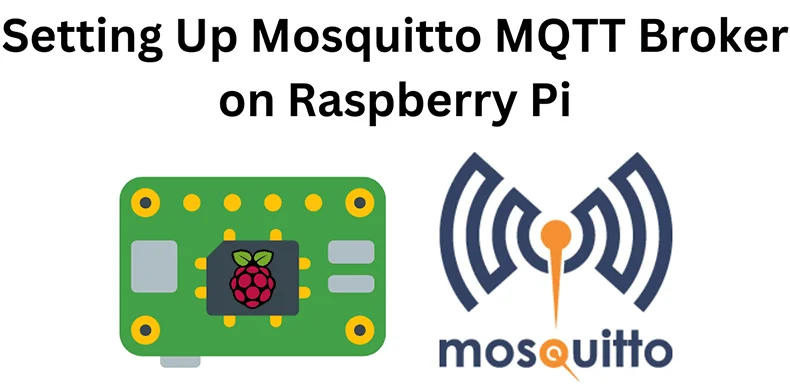
The Internet of Things (IoT) needs different devices to communicate easily with each other. MQTT, or Message Queuing Telemetry Transport, is a popular protocol used in IoT projects. Hosting your MQTT broker on a Raspberry Pi can create a cost-effective and flexible solution for small-scale IoT projects. This blog walks you through setting up an MQTT broker on a Raspberry Pi, from prerequisites to configuration and testing. We will also compare different MQTT brokers.
What is MQTT and Why Use Raspberry Pi as an MQTT Broker
MQTT is a simple messaging system that uses a publish/subscribe model. It works well for devices with limited resources and unreliable networks. An MQTT broker is a middleman that lets devices send messages on specific topics. Other devices can subscribe to these topics to receive the messages. We have already discussed the MQTT protocol and its applications in another blog.
Why Use Raspberry Pi as an MQTT Broker?
Raspberry Pi is a powerful yet compact computer that's perfect for IoT projects:
- Cost-effective: It is an affordable computer for testing and deployment.
- Energy efficient: It consumes minimal power, which makes it ideal for always-on services.
- Customizable: It supports various operating systems and software configurations.
Setting Up an MQTT Broker on Raspberry Pi
Before setting up the MQTT broker, ensure you have the following hardware, software, and tools.
Hardware- Raspberry Pi (e.g., Raspberry Pi 4 or earlier models with Wi-Fi capability).
- Power supply and a microSD card (8GB or larger).
- Ethernet cable or Wi-Fi access.
- Operating system: Raspberry Pi OS (formerly Raspbian).
- MQTT broker software: Eclipse Mosquitto.
- Text editor (e.g., Nano or Vim) for configuration.
- MQTT client tools (e.g., mosquitto_pub and mosquitto_sub) for testing.
How to Setup a MQTT Broker: Installation Steps
Step 1: Prepare the Raspberry Pi
Open the terminal and update the Raspberry Pi's package list and software using the following command:
sudo apt update && sudo apt upgrade -y
Enable SSH if you plan to manage the Pi remotely:
sudo raspi-config
SSH will allow us to access Raspberry Pi remotely.
Step 2: Install Eclipse Mosquitto
As discussed later in this blog, there are many options when choosing an MQTT broker for Raspberry Pi, but Eclipse Mosquitto is a widely used lightweight, open-source broker.
Install Mosquitto and its client tools:
sudo apt install mosquitto mosquitto-clients -y
Start and enable the Mosquitto service using systemctl:
sudo systemctl start mosquitto
sudo systemctl enable mosquito
Enabling the service will automatically start the mosquitto service whenever Raspberry Pi is restarted.
Step 3: Verify installation
Check if Mosquitto is running by checking the status of the Mosquitto service.
sudo systemctl status mosquito
Test the broker locally by publishing and subscribing to the topic: Open a new terminal window and enter the following to subscribe to the topic "test/topic".
mosquitto_sub -h localhost -t test/topic
Publish a message: Open another terminal window and enter the following to publish a message on the topic "test/topic".
mosquitto_pub -h localhost -t test/topic -m "Hello, MQTT"
You should see the published message in the subscriber terminal.
How to Setup a MQTT Broker: Broker Configuration
The MQTT broker configuration includes configuring ports, enabling user authentication, and securing MQTT with TLS/SSL.
Configuring Ports
By default, MQTT uses port 1883 for unencrypted communication. To change this:
Open the Mosquitto configuration file by typing the following in the terminal window:
sudo nano /etc/mosquitto/mosquitto.confChange port 1883 to another port number:
listener 1883
Restart the Mosquitto service so the changes take effect.
sudo systemctl restart mosquito
Enabling User Authentication
The MQTT broker without user authentication is prone to risks. To secure the broker using a username and password, we will follow the steps below:
Create a password file and add a user:
sudo mosquitto_passwd -c /etc/mosquitto/passwd
Replace
Then, update the configuration file to enable authentication; we will open the configuration file using the nano editor.
sudo nano /etc/mosquitto/mosquitto.conf
Then, we will add the following lines:
sudo mv mqtt.crt /etc/mosquitto/certs/
password_file /etc/mosquitto/passwd
This will disable MQTT access without authentication and also specify the password file.
Restart the broker so that changes take effect.
sudo systemctl restart mosquito
Securing MQTT with TLS/SSL
To encryption the MQTT broker is using TLS/SSL. Follow the steps below to enable it.
Firstly, we will generate SSL certificates by using the OpenSSL. Installation of OpenSSL maybe required.
openssl req -new -x509 -days 365 -nodes -out mqtt.crt -keyout mqtt.key
Then, we will move the certificates to a secure location:
sudo mv mqtt.crt /etc/mosquitto/certs/
sudo mv mqtt.key /etc/mosquitto/certs/
And finally, we can update the configuration to specify the certificates:
sudo nano /etc/mosquitto/mosquitto.conf
Add the certificate locations:
listener 8883
cafile /etc/mosquitto/certs/mqtt.crt
certfile /etc/mosquitto/certs/mqtt.crt
keyfile /etc/mosquitto/certs/mqtt.key
Restart Mosquitto for the changes to take effect.
sudo systemctl restart mosquitto
Testing the MQTT Broker Using Authentication
After the MQTT broker installation and configuration, test the broker using authentication.
Option 1. Use the Raspberry Pi's IP address to test the broker; you can find the IP address by typing the following in the terminal:
ifconfig
Subscribe to the topic:
mosquitto_sub -h
Publish a message:
mosquitto_pub -h
Option 2. Alternatively, you can use GUI tools like MQTT Explorer to test MQTT connections.
Exploring MQTT Brokers
Eclipse Mosquitto is a popular MQTT broker for its user-friendliness and portability. Other notable options include:
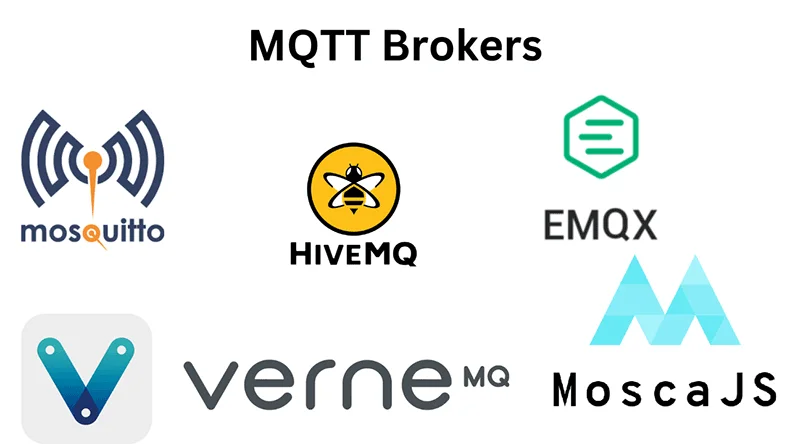
1. HiveMQ: HiveMQ is excellent for large-scale enterprise IoT projects; it features a web-based interface, dynamic clustering, and topic throttling.
2. EMQX: It supports millions of connections and offers seamless database integration, built-in clustering, and failover. However, it may consume more energy, making it unsuitable for low-powered devices.
3. VerneMQ: VerneMQ is scalable with integrated clustering and support for MQTT and MQTT over WebSocket. It's great for high availability but can be challenging to set up for beginners.
4. Mosca/Aedes: It is a lightweight broker for Node.js environments that is easy to integrate into custom applications, though limited to Node.js, which may reduce efficiency.
Comparison of MQTT Brokers
|
Feature/Metric
|
Eclipse Mosquitto
|
HiveMQ
|
EMQX
|
VerneMQ
|
Aedes
|
|
Easy to setup
|
⭐⭐⭐⭐⭐
|
⭐⭐⭐
|
⭐⭐⭐
|
⭐⭐⭐
|
⭐⭐⭐⭐⭐
|
|
Scalable
|
⭐⭐⭐
|
⭐⭐⭐⭐⭐
|
⭐⭐⭐⭐⭐
|
⭐⭐⭐⭐
|
⭐⭐
|
|
3oz
|
⭐⭐⭐⭐⭐
|
⭐⭐⭐
|
⭐⭐⭐
|
⭐⭐⭐
|
⭐⭐⭐⭐⭐
|
|
Resource Usage
|
⭐⭐⭐
|
⭐⭐⭐⭐
|
⭐⭐⭐⭐
|
⭐⭐⭐⭐
|
⭐⭐⭐
|
|
Security
|
⭐⭐⭐⭐
|
⭐⭐⭐⭐
|
⭐⭐⭐⭐
|
⭐⭐⭐
|
⭐⭐⭐
|
|
Best Use Case
|
Small IoT projects
|
Enterprise IoT
|
High-concurrency
|
Distributed IoT
|
JavaScript apps
|
Furthermore, once the broker is set up, you can install other software that compliments the MQTT broker, such as NodeRED, InfluxDB, and Grafan, for managing, storing, and visualizing the data you have collected using the MQTT broker.
One-Stop IoT PCBA Manufacturer PCBONLINE from R&D to Box Builds
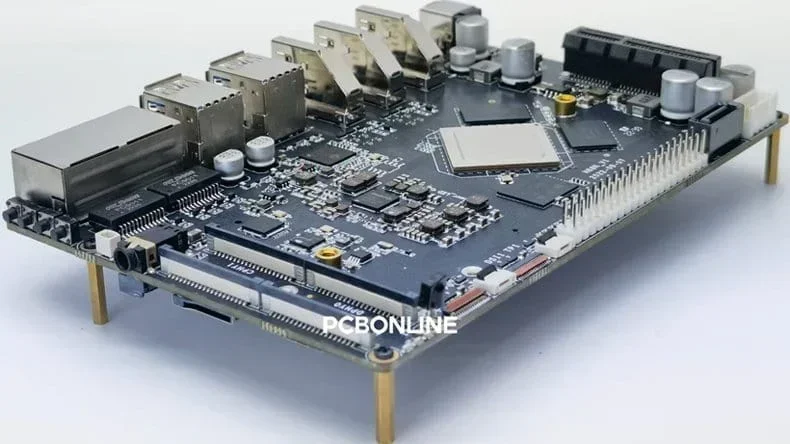
If you want to have your MQTT IoT project developed and manufactured under one roof, you can work with the one-stop IoT PCBA (printed circuit board assembly) manufacturer PCBONLINE with R&D capabilities and all-around electronics manufacturing capabilities including the box-builds.
Founded in 1999, PCBONLINE has two large advanced PCB manufacturing bases, one PCB assembly factory, stable supply chains, and an R&D team.
PCBONLINE is a source factory IoT PCBA manufacturer and provides hardware and software R&D, prototyping/sampling, PCB fabrication, component sourcing, PCB assembly, PCBA value-added, and box-build assembly.
PCBONLINE offers one-on-one engineering support and free design for manufacturing (DFM) to ensure smooth manufacturing and successful results for your IoT PCBA project.
PCBONLINE has long-term cooperation with mainstream MCU companies such as Espressif and the supply of MCUs and components for IoT PCBA is fast and steady.
High-quality IoT PCBA manufacturing certified with ISO 9001:2015, ISO 14001:2015, IATF 16949, RoHS, REACH, UL, and IPC-A-610 Class 2/3.
When your IoT PCBA project enters the bulky production stage, PCBONLINE refunds the fees of R&D, sampling, and PCBA functional testing.
No matter what quantity of IoT PCBA boards you want, or what protocols your project uses, you can enjoy free and considerate engineering support throughout your project. To get a quote for your MQTT IoT PCBA project, contact info@pcbonline.com.
Conclusion
Setting up an MQTT broker on Raspberry Pi is a straightforward process that allows you to create a cost-effective and simple IoT hub that you can manage. This blog demonstrates how to set up MQTT brokers step by step with codes and explanations. If you have questions about your MQTT IoT device project, contact PCBONLINE for free 24/7 consultation.
PCB assembly at PCBONLINE.pdf


